Large Bore Cannon
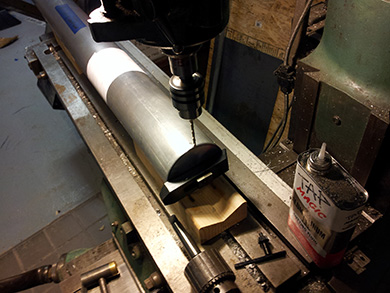 The drill press didn’t seem accurate enough for this job, so I cleared off the mill table and drilled the holes on there. The only V-Blocks I could find in the shop were rusty and un-even, so I made some wood ones quickly on the table saw.
As per the plan, I fixed the end cap on, then center drilled, drilled and tapped the holes. It took most of Saturday night, which my girlfriend wasn’t too psyched about.
I probably should have been more careful about squaring and securing the end cap in the pipe. It may have gotten slightly skewed. I’m not going to worry about it though, since perfect squareness isn’t critical here.
I also noticed another mistake.. When I reprinted the template, I accidentally made it with only 7 screw holes, not 12. I can't believe I missed that. I think it’ll still be strong enough though. I’ll have to do a little FEA before I test fire it.
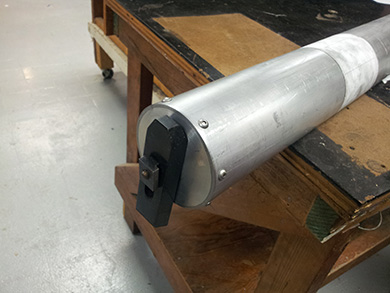 Here’s the finished assembly. I made more mistakes on this part than I’d like, but eh, live and learn. It should work perfectly, and it looks awesome. :)
 I think I’m ready to tackle what’s probably the most difficult part. The piston head. It should be pretty straight forward, but it’s a lot of operations to do without making a mistake.
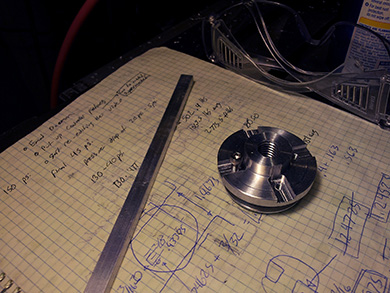
Here’s the cad model. The piston head is highlighted in red. As you may have noticed in the exploded view, the arms are separate pieces that are attached with screws.The jaw center on the lathe I’m using is a little off. Rather than fuss with the 4 jaw chuck, I used a piece of stock big enough for me to machine all the important parts without flipping it around, this way the alignment doesn’t matter.
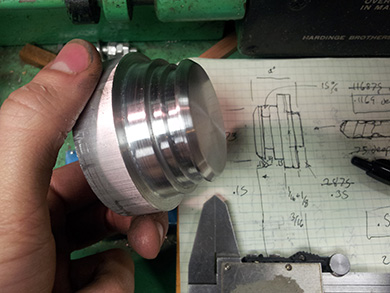
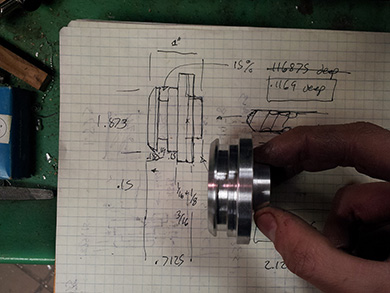 I forgot to bring a drawing to the shop, so I redrew it on some graph paper and recalculated the dimensions.
It felt pretty great to make a drawing and then at the end of the evening hold that exact part in my hands.
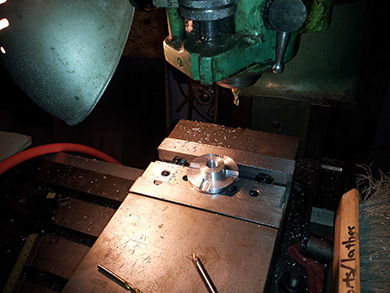 The slots themselves were kind of a pain, but went pretty smoothly. I’ve never had to mill anything using the dials on the handles before and I was worried about the accuracy. I made a test slot in a piece of scrap before this though and it came out perfectly, so I went into this with some confidence.
I cut the first 2 slots .008 undersized, thinking it would be best to take off the last hair with a file for a perfect fit. I tried a the fit afterwards and the arm didn’t fit by exactly that little bit, so I just said what the hell and milled the other 2 to the exact size. It turned out fine and they barely wiggle at all.
While the piece was still lined up and clamped in the vice, I drilled the holes as well. Even that took a while. Align, center drill, tool change, drill, tool change - four times. Then I tapped the holes.


